Der Eigenbau | The construction
|
Deutsch Die folgenden Abschnitte beschreiben den Bau der Le Petit, wie auf der Seite Das Design beschrieben. |
English The following sections describe the construction of Le Petit as described on The Design page. |
Hinweis | Hint
|
Deutsch Ich besitze weder eine Werkstatt noch einen "Maschinenpark" und bin weder Schreiner, noch Elektriker. Im Folgenden beschreibe ich so gut, wie es geht, wie ich die Lautsprecher dennoch zusammengebaut bekam. |
English I have neither a workshop nor a "machine park" and I am neither a carpenter nor an electrician. In the following I describe as well as I can how I nevertheless got the speakers assembled. |
Materialeinsatz | Material usage
|
Deutsch Hier meine Liste mit Artikeln, Bezugsquellen, Mengenangaben und Preisen (Stand 12/2022), die ich für den Bau verwendet habe: |
English Here is my list of items, sources, quantities and prices (as of 12/2022) that I used for the build: |
| Abbildung | Figure |
Beschreibung | Description |
Gesamtpreis | Price in € |
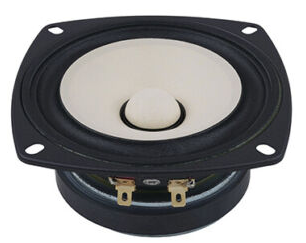 |
2 x Fostex FE 103NV (Paarpreis) Nicht mehr erhältlich Quelle: Ebay Datenblatt: FE103NV2.pdf |
129,90 |
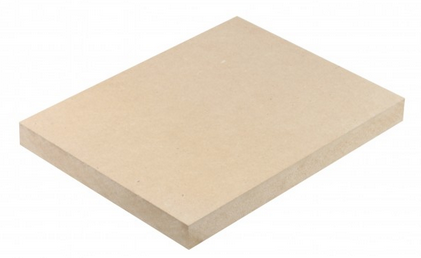 |
14 MDF-Bretter mit den Maßen, wie unten beschrieben. Quelle: Holzladen |
108,96 |
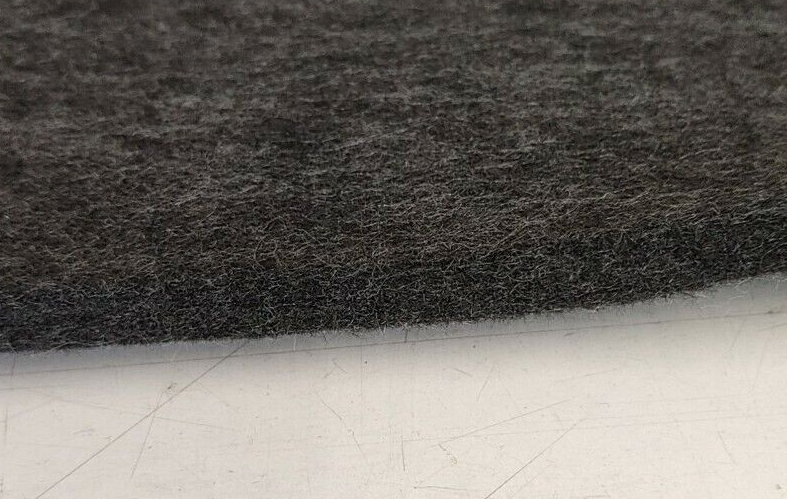 |
2 m² Filz (Polyester), 10 mm dick, Quelle: Ebay |
45,40 |
 |
20 Kabelschuhe 6,3 mm vergoldet Quelle: Ebay |
7,85 |
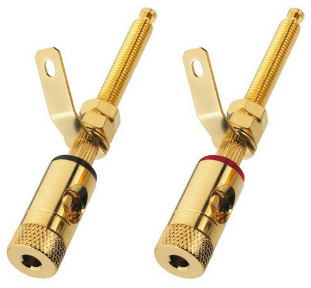 |
2 Paar Lautsprecher Polklemmen für Holzgehäuse bis 33 mm Quelle: Ebay |
30,26 |
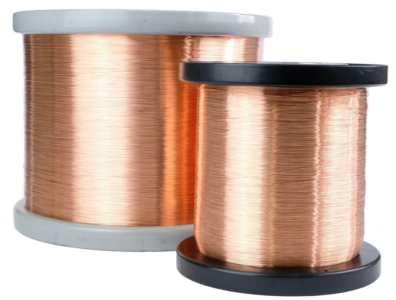 |
25 m Kupferdraht blank, Ø 0,5 mm Quelle: Ebay |
16,00 |
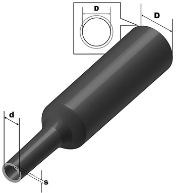 |
3 m Schrumpfschlauch 2:1 schwarz, Quelle: Amazon |
4,49 |
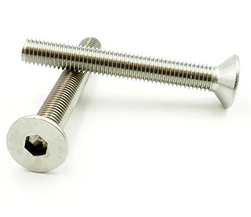 |
50 Stück Senkkopfschrauben Edelstahl M4 x 35 mm mit Innensechskant Quelle: Amazon |
9,07 |
 |
30 Rampamuffen, M4 Innengewinde, Quelle: Amazon |
6,99 |
|
Materialkosten: |
358,92 |
Das "Holz" | The "wood"
|
Deutsch Nein, MDF ist kein Holz! Es kann bestenfalls Spuren von Holz enthalten. Der Rest sind gepresster Staub und Kleber. Mit so etwas würde ich nur noch mal arbeiten, besäße ich eine Absauganlage, die staubfreies Arbeiten ermöglicht. Aber zu diesem Zeitpunkt wusste ich das noch nicht. Im Holzladen bestellte ich 14 MDF-Bretter in 25mm Stärke nach folgender Stückliste: |
English No, MDF is not wood! At best, it may contain traces of wood. The rest is compressed dust and glue. I would only work with something like this again if I owned an extraction system that allow dust-free work. But at that time I did not know that. In the Holzladen I ordered 14 MDF boards in 25mm thickness according to the following parts list: |
| Anzahl | Quantity |
Größe in mm | Size in mm |
Bezeichnung | Desciption |
| 2 |
358 x 528 |
Front |
| 4 |
173 x 568 |
Left / Right |
| 2 |
358 x 568 |
Back |
| 4 |
308 x 173 |
Top / Bottom |
| 2 |
308 x 145 |
Port |
Das kreisrunde Loch für das Chassis | The circular hole for the chassis
|
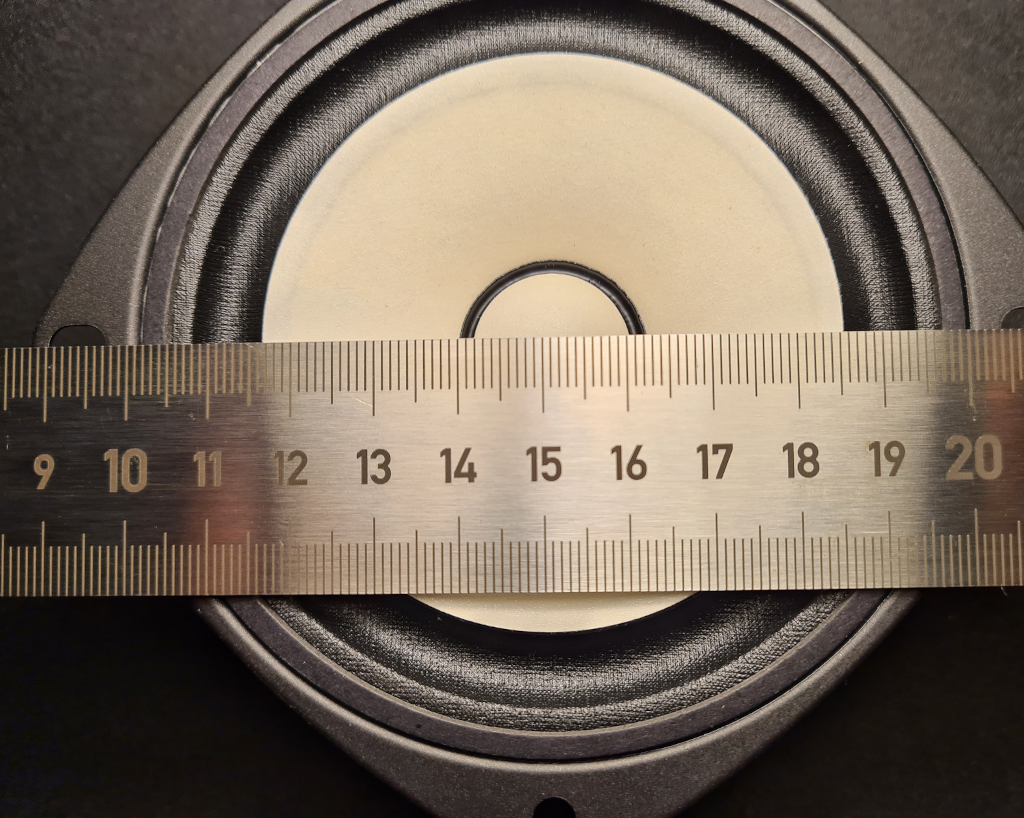
Deutsch Im Gegensatz zur original Le Petit, bei der das Chassis von außen auf das Gehäuse geschraubt wird, befindet sich das Chassis bei der modifizierten Variante innen am Gehäuse. Das bedeutete, dass ich nicht einfach einen ungefähr runden Kreis mit einer Stichsäge sägen konnte, deren Ungenauigkeiten durch das Chassis verdeckt würden, sondern eine Lösung für ein ein kreisrundes Loch brauchte. Klar, eine Oberfräse mit Zirkel macht so etwas, besitze ich aber nicht. Und welchen Durchmesser musste das Loch eigentlich haben? Laut Hersteller 92 mm, das Chassis außen angebracht, aber passt das auch von innen angeschraubt? |
English Unlike the original Le Petit, where the chassis is screwed onto the case from the outside, the modified version has the chassis on the inside of the case. This meant that I could not simply saw an approximately round circle with a jigsaw, whose inaccuracies would be hidden by the chassis, but needed a solution for a circular hole. And what diameter did the hole actually have to be? According to the manufacturer 92 mm, if the chassis mounted on the outside, but does that also fit screwed from the inside? |
|
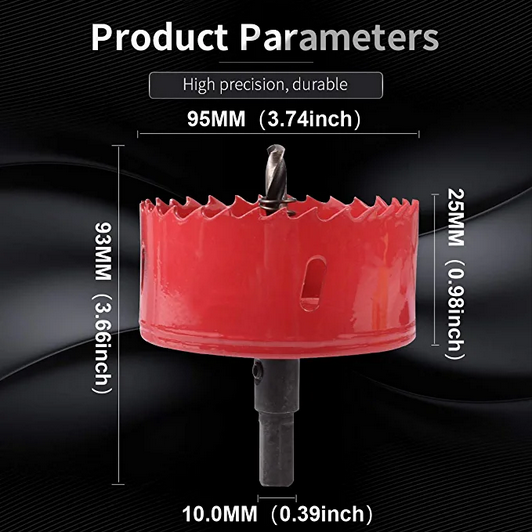
Deutsch Nein, passt nicht, da ein Teil der Membrane verdeckt würde. Ich entschied mich für eine Bimetall-Lochsäge mit 95 mm Durchmesser: |
English No, it does not fit, because part of the membrane would be covered. I decided to use a 95 mm diameter bimetal hole saw: |
|
Deutsch Es ist übrigens keine gute Idee, eine 25 mm dicke MDF-Platte mit einer großen Lochsäge und einem Akkuschrauber durchbohren zu wollen. Selbst eine Makita Bohrmaschine kommt an ihre Grenzen und qualmt nach dem zweiten Loch. Auch wenn die o.g. Lochsäge angeblich 25 mm tief sägen kann: Das gilt nicht für MDF! Man muss sich auf der Hälfte beim Bohren entgegenkommen (und möglichst in der Mitte treffen, also das Führungsloch für den Bohrer der Lochsäge vorher einmal ganz durchbohren), dann funktioniert das. |
English By the way, it is not a good idea to try to drill through a 25 mm thick MDF board with a large hole saw and a cordless screwdriver. Even a Makita drill comes to its limits and smokes after the second hole. Even if the above hole saw can supposedly saw 25 mm deep: This does not apply to MDF! You have to meet halfway when drilling (and meet in the middle if possible, so drill the guide hole for the drill bit of the hole saw once completely before), then it works. |
|
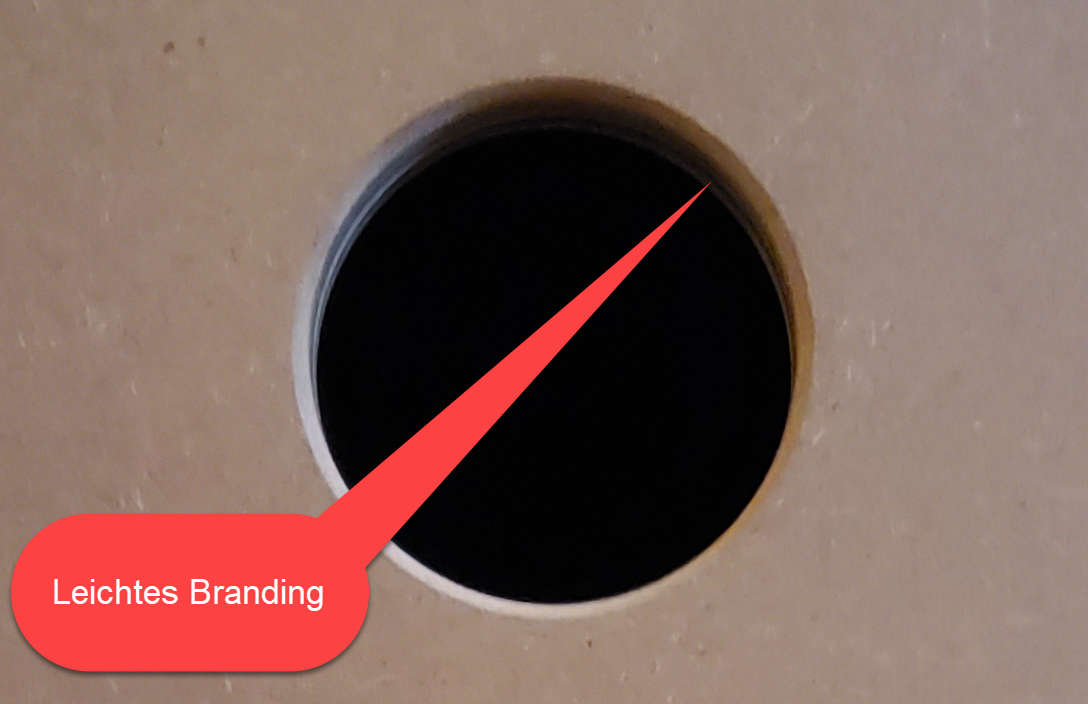
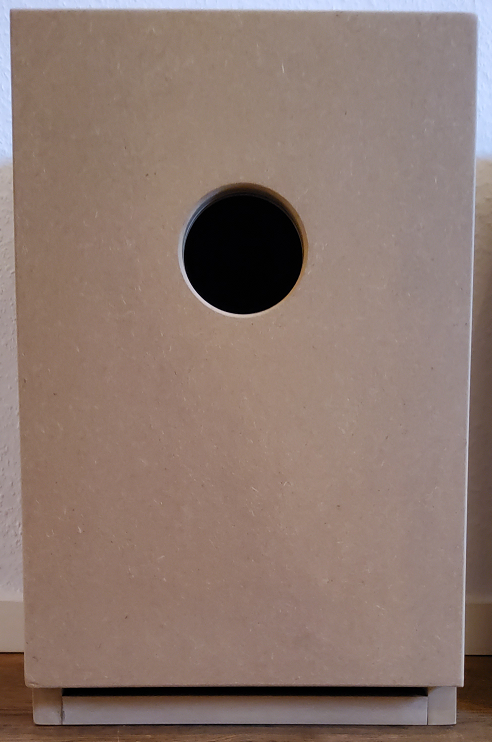
Deutsch Das Branding im Lochinneren war nach dem Einsatz von Schmirgelpapier fast nicht mehr zu sehen. Das folgende Bild zeigt ein "Vogelhaus" im Rohzustand. Alle Bretter waren in diesem Zustand bereits verleimt. |
English The branding inside the hole was almost invisible after using sandpaper. The following picture shows a "birdhouse" in its raw state. All boards were already glued in this state. |
|
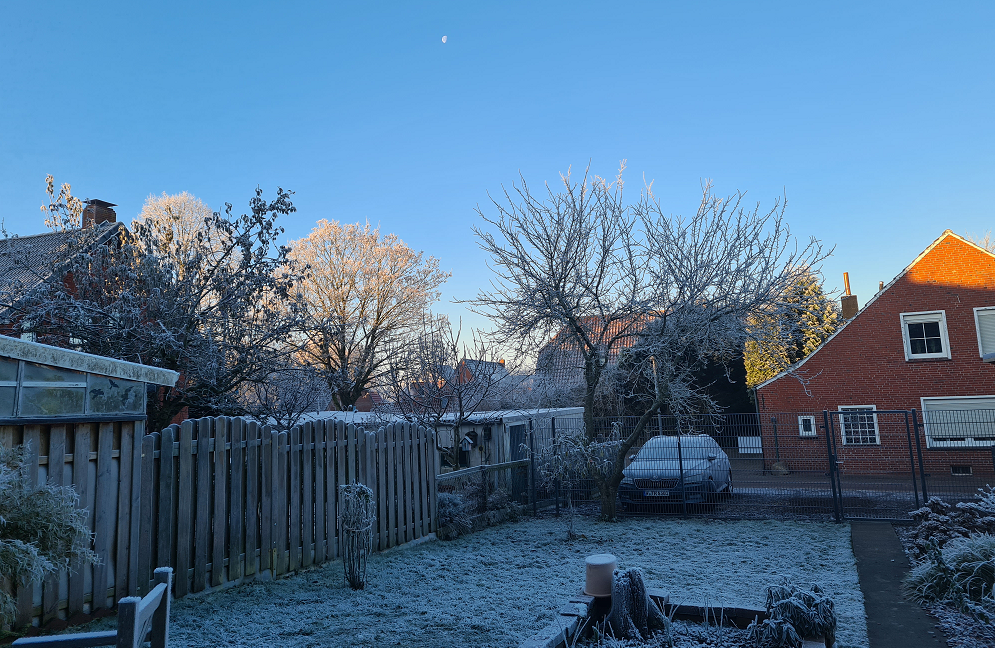
Deutsch Zum Schleifen trug ich meine Volkswerkbank und die Boxen in den Garten. Dort verrichtete ich diese Arbeit mit Mantel, Schal, Mütze, Hand- und Winterschuhen. Der Frost und die Minusgrade waren mir egal. |
English For grinding I carried my Volkswerkbank and the boxes into the garden. There I performed this work with coat, scarf, cap, hand and winter shoes. I did not care about the frost and sub-zero temperatures. |
|
Deutsch Merke: Schleife niemals MDF im Haus, wenn Du keine Werkstatt mit Absauganlage besitzt! Das ist ein echtes Sauzeug. Geh raus an die frische Luft, egal, wie kalt es draußen ist und vergiss die FFP2-Maske nicht. |
English Note: Never grind MDF indoors if you don't have a workshop with an extraction system! This is a real mess. Get out in the fresh air, no matter how cold it is outside and don't forget the FFP2 mask. |
Die Rückwand | The back panel
|
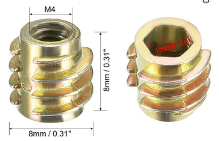
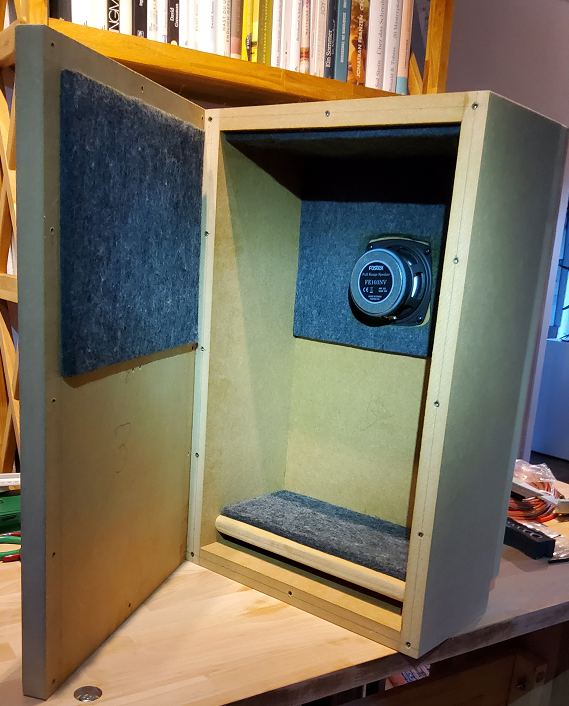
Deutsch Während alle anderen MDF-Teile der Box mit Ponal Express (Trockenzeit nur 5 min.) verklebt wurden, wollte ich die Rückwand verschrauben, damit ich ggf. im Inneren Änderungen vornehmen kann, zumal sich Janos in seinem Video etwas "philosophisch" zum Thema Dämpfung äußert. Erst erklärt er, wo was hin muss und nicht hin darf, um anschließend beiläufig den Satz fallen zu lassen, man könne vielleicht auch alle Dämpfung weglassen. Vielleicht habe ich das aber auch missverstanden (lost in translation). Einfache Spaxschrauben versehen zwar ihren Dienst aber nur so lange, bis das MDF anfängt, krümelig zu werden. Daher die Rampamuffen mit den entsprechenden Senkkopfschrauben und metrischem Gewinde. So kann man die Schrauben immer wieder lösen und festziehen. Und MDF-Krümel gibt es auch nicht. Es wäre übrigens klüger gwesen, die Löcher für die Rampamuffen nicht direkt in die Ecken der Box zu bohren, sondern sie jeweils links und rechts davon zu setzen, damit das MDF in den Ecken nicht zu reißen droht. Auf dem folgenden Bild erkennt man das Innenleben der Box mit schraubbarer Rückwand, die Anordnung des Dämpfungsmaterials und die Position des Chassis. Die interne Verkabelung ist noch nicht vorhanden. |
English While all other MDF parts of the box were glued with Ponal Express (drying time only 5 min.), I wanted to screw the back panel so that I can make changes inside if necessary, especially since Janos is somewhat "philosophical" in his video on the subject of damping. First he explains where what must and must not go, to then casually drop the sentence, one could perhaps also omit all damping. But maybe I misunderstood something (lost in translation).
By the way, it would have been wiser not to drill the holes for the Rampamuffen directly into the corners of the box, but to place them to the left and right of each, so that the MDF in the corners is not in danger of cracking. In the following picture you can see the inner workings of the box with screwable rear panel, the arrangement of the damping material and the position of the chassis. The internal wiring is not yet present. |
|
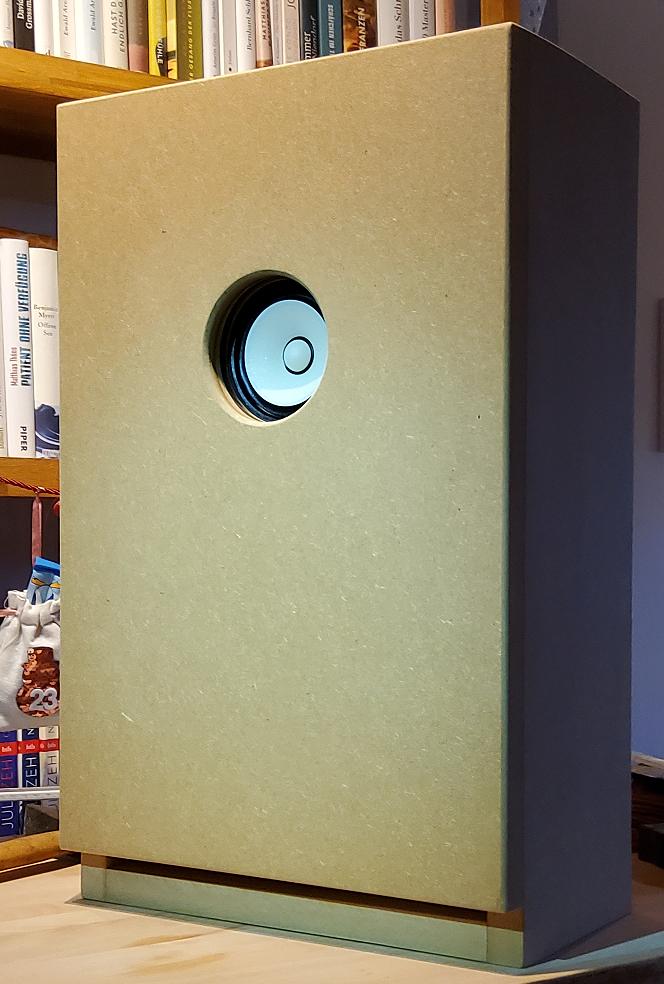
Deutsch Von vorne sieht das so aus: |
English From the front it looks like this: |
Die innere Verkabelung | The internal wiring
|
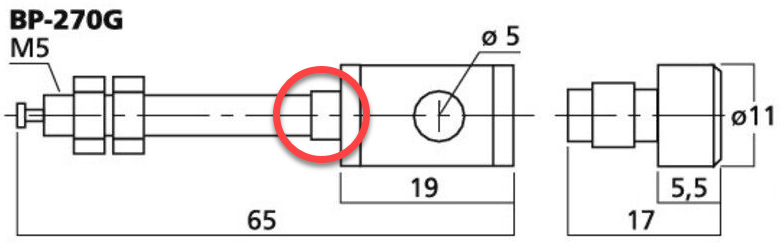
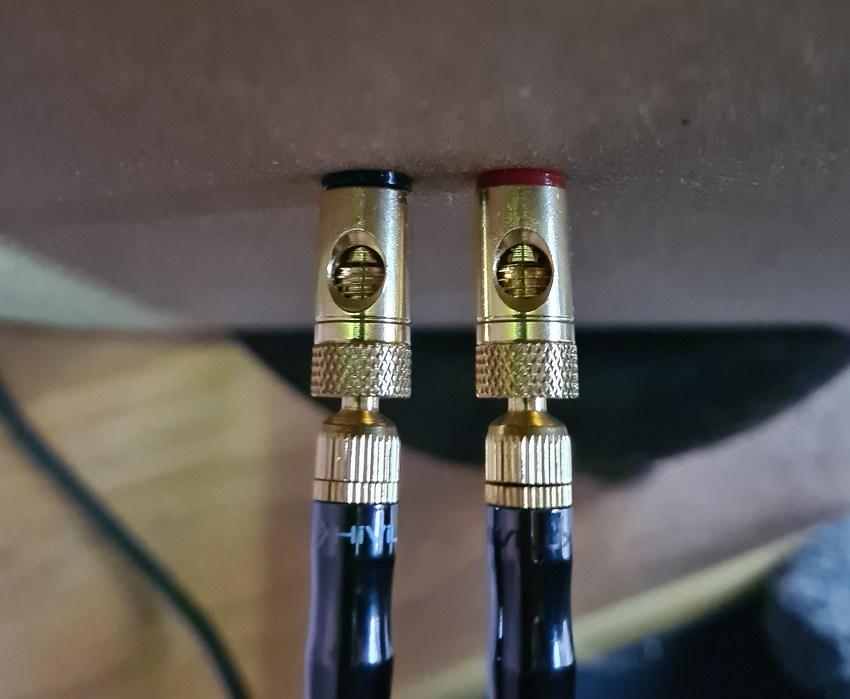
Deutsch Für die innere Verkabelung habe ich mit einem Akkuschrauber jeweils 6 x 50 cm lange Kupferdrähte mit einem Durchmesser von 0,5 mm miteinander verdrillt und mit einem Schrumpfschlauch (Ø 2 mm) gegen Kurzschluss gesichert (Jürgen hat es in diesem Video vorgemacht, etwa ab Minute 8:00). Und ja, am Anfang und am Ende der Verkabelung befinden sich gecrimpte Kabelschuhe (immerhin vergoldet), damit ich bei Bedarf etwas ändern kann. Ist schließlich mein erster Versuch. Die Anbringung der Polklemmen ist etwas trickreich. Bohrt man 6 mm Löcher in die Box, passt die Polklemme, wackelt aber. Die techn. Zeichnung verdeutlicht, warum: |
English For the internal wiring I used a cordless screwdriver to twist 6 x 50 cm copper wires with a diameter of 0.5 mm and secured them with a heat shrink tube (Ø 2 mm) against short circuits (Jürgen demonstrated it in this video, starting at about minute 8:00). And yes, at the beginning and at the end of the wiring there are crimped cable lugs (gold-plated, after all), so that I can change something if necessary. It's my first attempt, after all. Attaching the binding posts is a bit tricky. If you drill 6 mm holes in the box, the pole terminal fits, but wobbles. The technical drawing clarifies why: |
|
Deutsch Bei einem 5 mm Loch passt der Gewindeteil der Lochklemmen, aber das Ende nicht. Gut, dass ich das vorher ausprobierte. So geht's: Erst ein 5 mm Loch bohren und anschließend mit einem 5,5 mm Bohrer 10 mm tief das Loch vergrößern. Dann passt alles, wie es soll. |
English With a 5 mm hole, the threaded part of the hole clamps fits, but the end does not. Good thing I tried that out beforehand. Here's how it works: First drill a 5 mm hole and then enlarge the hole with a 5.5 mm drill bit 10 mm deep. Then everything fits as it should. |
Testaufbau | The test setup
|
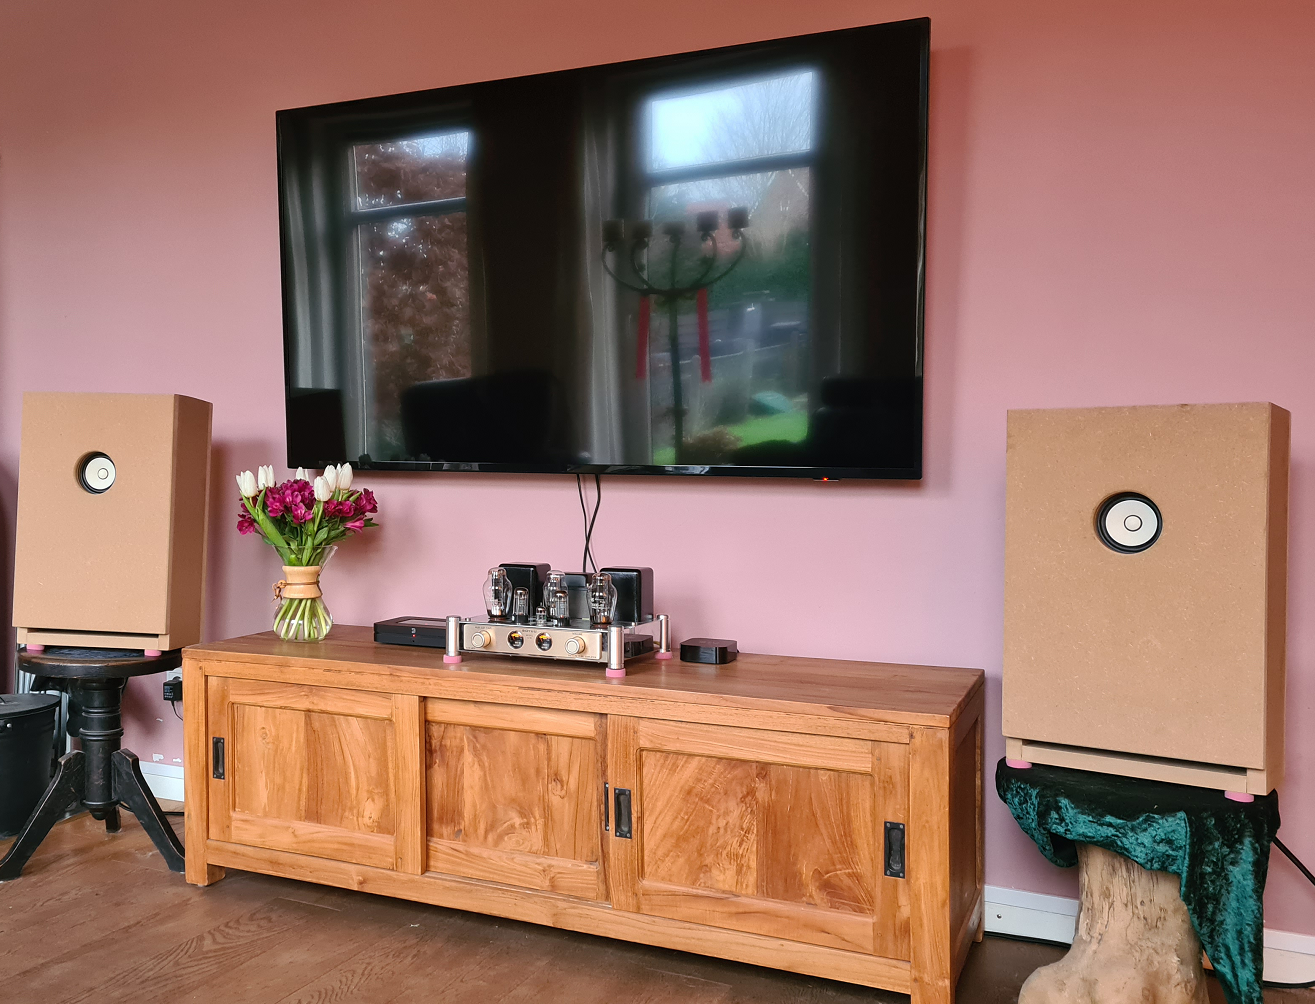
Deutsch Um zu hören, ob aus den "Vogelhäuschen" überhaupt ein Ton rauskommt, stellte ich die Boxen provisorisch auf und schloss sie an. Die Lautsprecherständer kommen noch ... |
English To hear if any sound comes out of the "birdhouses" at all, I set up the boxes provisionally and connected them. The speaker stands are still to come ... |